User Creation & Roles
User accounts can be created by Org Admins, and can be set up under various roles. Certain roles provide specific level of access to features on the website.
User Roles
- Org Administrator
- Org Manager
- Anthropologist
- DNA Analyst
- Anthropologist - Project Lead
- Isotope Analyst
- Historian
- Dentist
- Intern
Org Administrator
Org Administrator is one of the Users. Below image shows the screen of Org Administrator. The left side bar includes the various modules of the CoRA web application that the Org Administrator can select. It consists of Dashboard, Specimens, DNA, Isotope and Administration
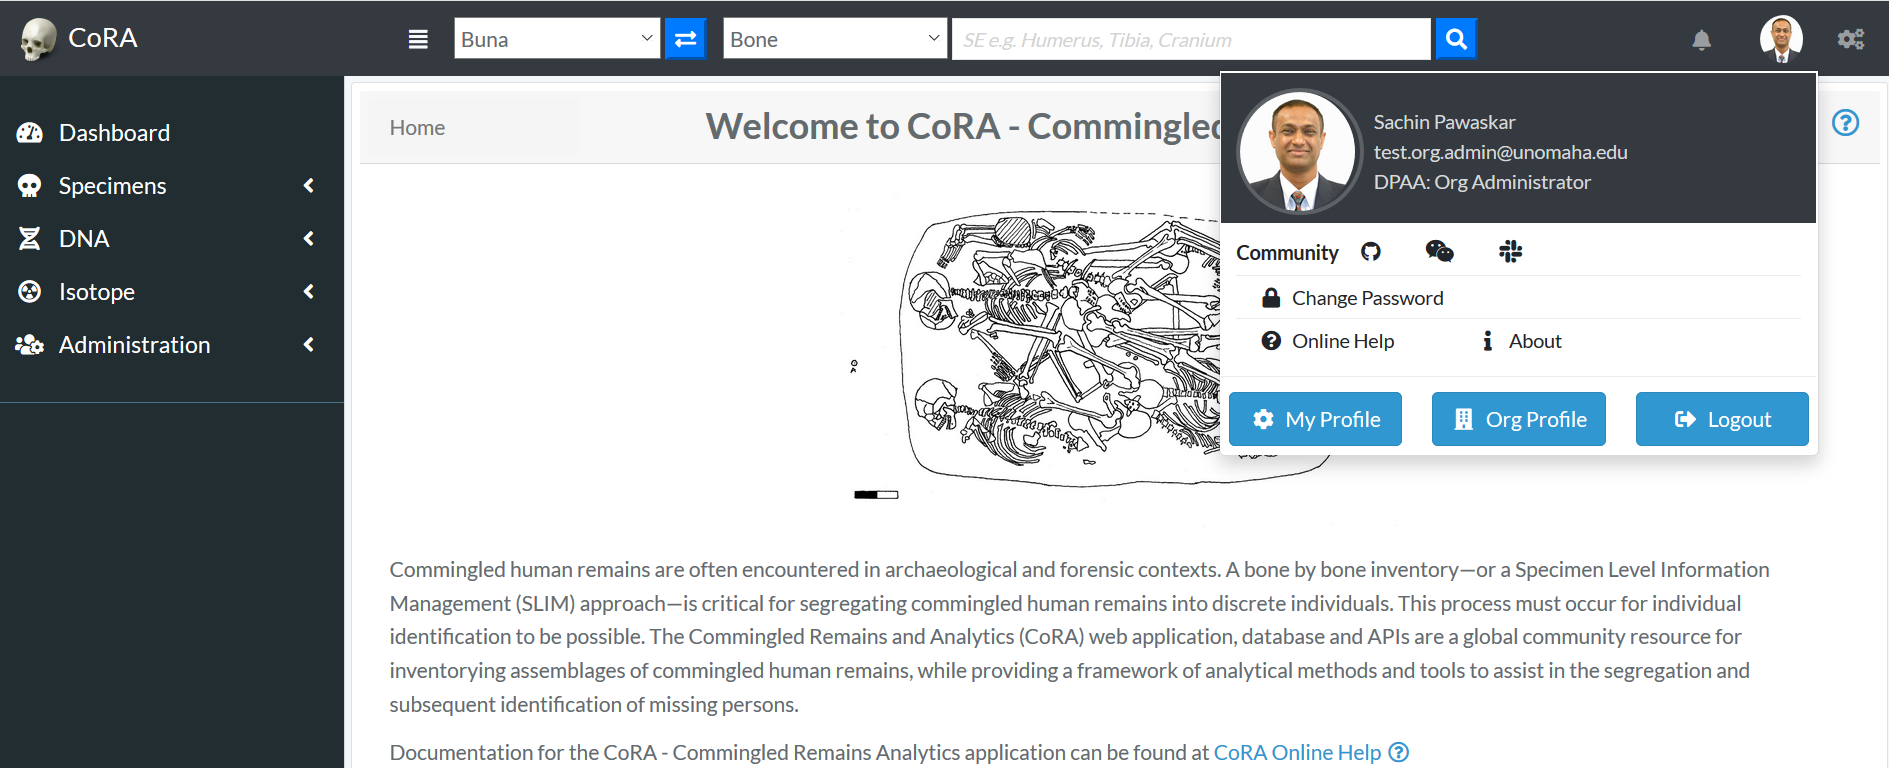
The Org Admin takes the responsibility of creating and managing the Users, Projects, Accession, Instruments and Haplogroup.
User Management
User Creation
- Login as Org Administrator
- On the left navigation bar, click on the Administration
- Under Administration, click on User Management
- After you click on User Management, you will see list of all users
The user list screen provides the information related to the user such as its Name, Role, Email, Cell Phone, Active Status, Country, Language, Time Zone, IP Address and Last Activity. In the gif above we can see some users have been inactive since a year and some are still active.
- On the User Management page, click on Actions, then Create
- Enter the information on the New User creation page (required fields are marked with a red asterisk*)
- Through the "Roles" field, various user roles can be selected such as Org Admin, Anthropologist, Manager, DNA Analyst, Historian, Intern, Isotope Analyst.
- Once all information is entered, click Save, and a message will appear at the top informing the user that the “User successfully added”
Users will be able to change their password once they have logged in. Ensure to check the Active box so that the user account is active and the user can login.
Below are some fields with some validation rule
| Attributes | Data Type | Size | Validation Rule | Required/Optional |
|---|---|---|---|---|
| First Name | String | 32 chars | Can only contain letters | Required |
| Last Name | String | 32 chars | Can only contain letters and dash | Required |
| String | 255 chars | Should be unique with 255 max chars | Required | |
| Cell phone | String | 32 chars | Can only contain numbers and dash | Optional |
| Role | NA | NA | Choose from the dropdown | Required |
| Active Status | Boolean | NA | True or False | Optional |
| Password | String | 64 chars | Should fulfill all the password requirements | Required |
Edit an Existing User
Click on their name in all user list. You will be taken to a read only page of their user profile.
To Edit their Profile Information - Click "Actions" - "Edit".
The following fields are available on the user edit screen:
- Organization
- Projects
- First Name
- Last Name
- Display Name
- Email Address
- Cell Phone
- Alt Phone
- Active Profile Flag
- Roles
- Default Country
- Default Language
- Default Time Zone
- Instruments
Required fields are marked with a red asterisk*. Click save when finished editing. To Reset their Password - Click "Reset Password". Enter the new password in both the fields and change password.
Project Management
Project Creation
- Login as Org Administrator
- Under Administration, click Project Management
- After you click on Project Management, you will see list of all Projects
The Project list screen provides the information related to the project such as its Name, Description, Manager, Start Date, Status and whether it is Public or not.
- On the Project Management Page, click on Actions, then Create
- Enter the information on the New Project creation page (required fields are marked with a red asterisk) The public option enables the public to view the project *
- Adding Users to a Project
The Org Admin will be able to add users to specific projects through 'Assigned Users' field. From the dropdown box, the OrgAdmin adds users to the project and clicks save option.
Below are some fields with some validation rule
| Attributes | Data Type | Size | Validation Rule | Required/Optional |
|---|---|---|---|---|
| Name | String | 255 chars | Can only contain letters and numbers, min:3 and max:255 chars | Required |
| Description | String | 255 chars | Can contain minimum 3 chars and 255 max chars | Required |
| Status Id | Numeric | 32 chars | Can only contain numbers | Required |
| Start Date | Date | NA | Can only contain date | Required |
| Manager Id | Numeric | 32 chars | Can only contain numbers | Required |
| Geo latitude | Numeric | 32 chars | Can only contain numeric value | Required |
| Geo Longitude | Numeric | 32 chars | Can only contain numeric value | Required |
| Slack Channel | Alphanumeric | 32 chars | Can only contain numbers and letters | Optional |
| Latest MCC Date | Date | NA | Can only contain date | Optional |
| Public | Boolean | NA | True or False | Optional |
| Allow users To create Accessions | Boolean | NA | True or False | Optional |
| Isotope Analysis | Boolean | NA | True or False | Optional |
| Zones Autocomplete | Boolean | NA | True or False | Optional |
Edit Project
-
After the creation of a Project and adding Users to a Project, the Org Admin can edit the Project. On the Project Management page, click on Actions, then Edit
-
Edit the needed information on the Project page, and click save
Accession Management
Creating Accession
- Login as Org Administrator
- Under Administration, click Accession Management
- After you click on Accession Management, you will see list of all Projects along with Key, Accession number, Provenance 1 and Provenance 2 fields.
- On the Accession Management page, click on actions, and then click create
- On the create accession page, the Org Admin can choose a specific project from the drop down option to assign the accession details.
On the create accessions page, enter the required information (required fields are marked with a red asterisk) for a particular project and click save After clicking save, the Org Admin will be redirected to the page displaying accession details associated with a specific project.
Below are some fields with some validation rule
| Attributes | Data Type | Size | Validation Rule | Required/Optional |
|---|---|---|---|---|
| Number | String | 32 chars | Can only contain letters, numbers, dash and space | Required |
| Provenance 1 | String | 32 chars | Can only contain letters, numbers, dash and space | Optional |
| Provenance 2 | String | 32 chars | Can only contain letters, numbers, dash and space | Optional |
Edit Accession
-
After the creation of a Accession, the Org Admin can edit the Accession. On the Accession list page, click on Actions, then Edit
-
Edit the needed information on the Accession edit page, and click save
Instrument Management
Creating Instrument
- Login as Org Administrator
- Under Administration, click Instrument Management
- After you click on Instrument Management, you will see list of all Instruments with Code, Module, Category, Reference and Assigned Users fields.
- On the Instrument Management page, click on Actions and then click Create.
- On the create Instrument page, enter the required information and click save (required fields are marked with a red asterisk*)

| Attributes | Data Type | Size | Validation Rule | Required/Optional |
|---|---|---|---|---|
| Code | String | 255 chars | Can have max 255 chars | Required |
| Category | String | 255 chars | Can have max 255 chars | Required |
| Module | String | 255 chars | Can have max 255 chars | Required |
| Reference | String | 255 chars | Can have max 255 chars | Optional |
| Assigned Users | NA | NA | Can choose from the options available | Optional |
The Org Admin will also be able to edit the users associated with the instrument by clicking the dropdown "Assigned Users"
Edit Instrument
-
After the creation of a Instrument, the Org Admin can edit the Instrument. On the Instrument Management page, click on Actions, then Edit
-
Edit the needed information on the page, and click save
Haplogroup Management
Creating Haplogroup
- Login as Org Administrator
- Under Administration, click Haplogroup Management
- After you click on Haplogroup Management, you will see list of all Haplogroups with their columns such as Type, Letter, Subgroup and Ancestry.
- On the Haplogroup Management page, click on Actions and then click Create.
- On the create Haplogroup page, enter the required information and click save (required fields are marked with a red asterisk*)
Below are some fields with some validation rule
| Attributes | Data Type | Size | Validation Rule | Required/Optional |
|---|---|---|---|---|
| Type | NA | NA | Can choose from the option available | Required |
| Letter | String | 1 char | Can only contain one character from A-Z | Required |
| Subgroup | String | 32 chars | No specified rule | Optional |
| Ancestry | NA | NA | Can choose from the option available | Optional |
Edit Haplogroup
-
After the creation of a Haplogroup, the Org Admin can edit the Haplogroup. On the Haplogroup Management page, click on Actions, then Edit
-
Edit the needed information on the page, and click save
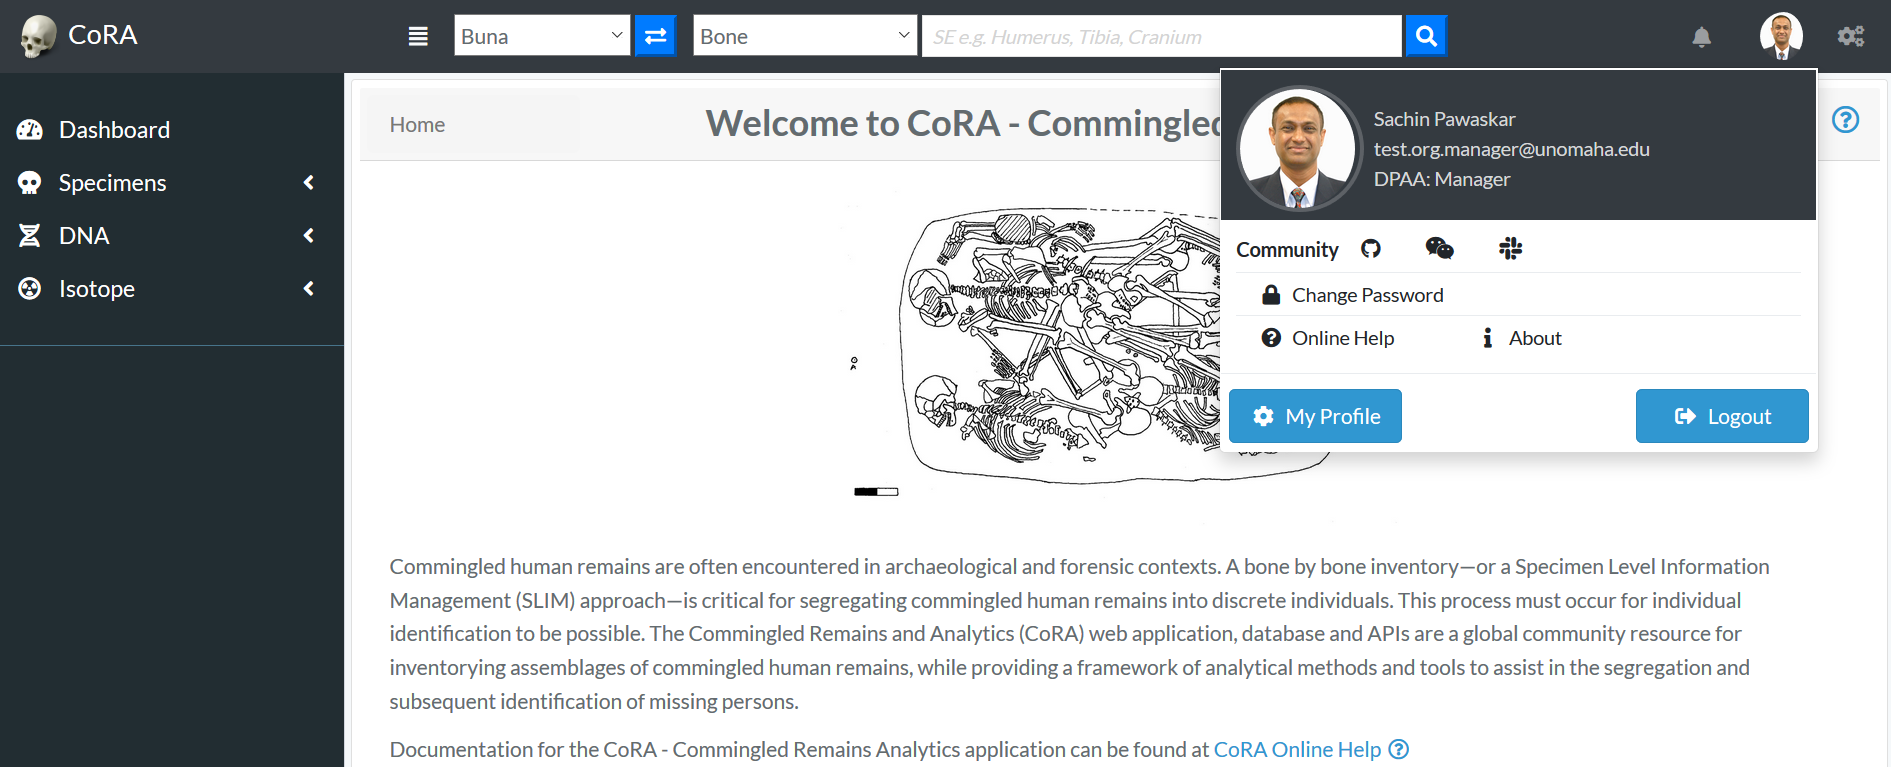
Org Manager
Org Manager is one of the Users. Below image shows the screen of Org Manager. The left side bar includes the various modules of the CoRA web application that the Org Manager can select. It consists of Dashboard, Specimens, DNA and Isotope
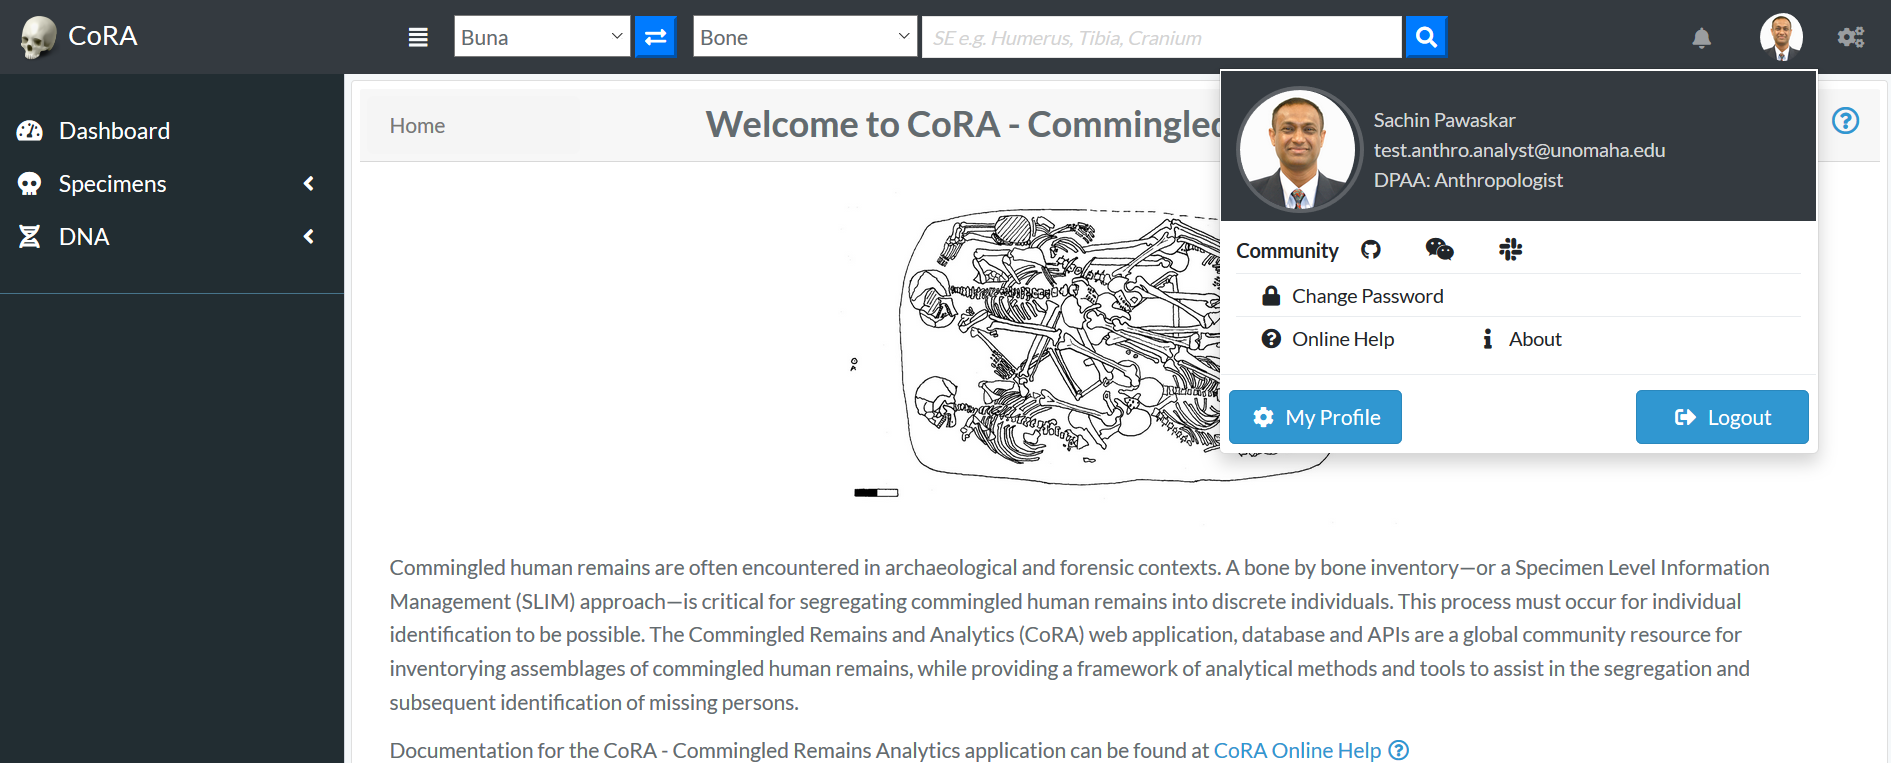
Anthropologist
Anthropologist is one of the Users. Below image shows the screen of Anthropologist. The left side bar includes the various modules of the CoRA web application that the Anthropologist can select. It consists of Dashboard, Specimens and DNA
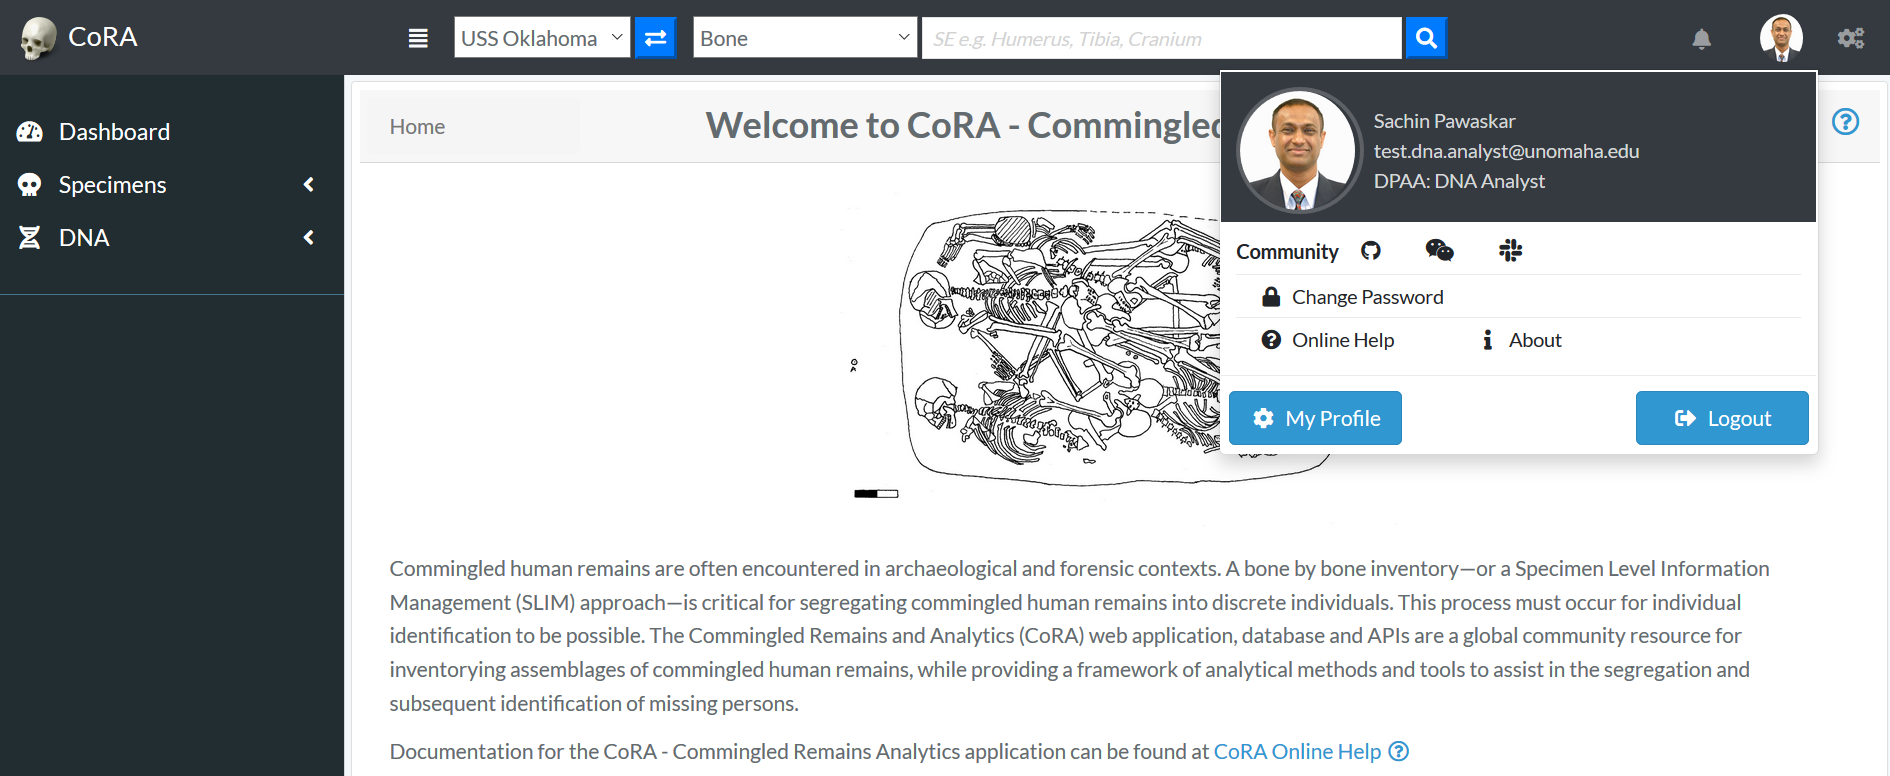
DNA Analyst
DNA Analyst is one of the Users. Below image shows the screen of DNA Analyst. The left side bar includes the various modules of the CoRA web application that the DNA Analyst can select. It consists of Dashboard, Specimens and DNA
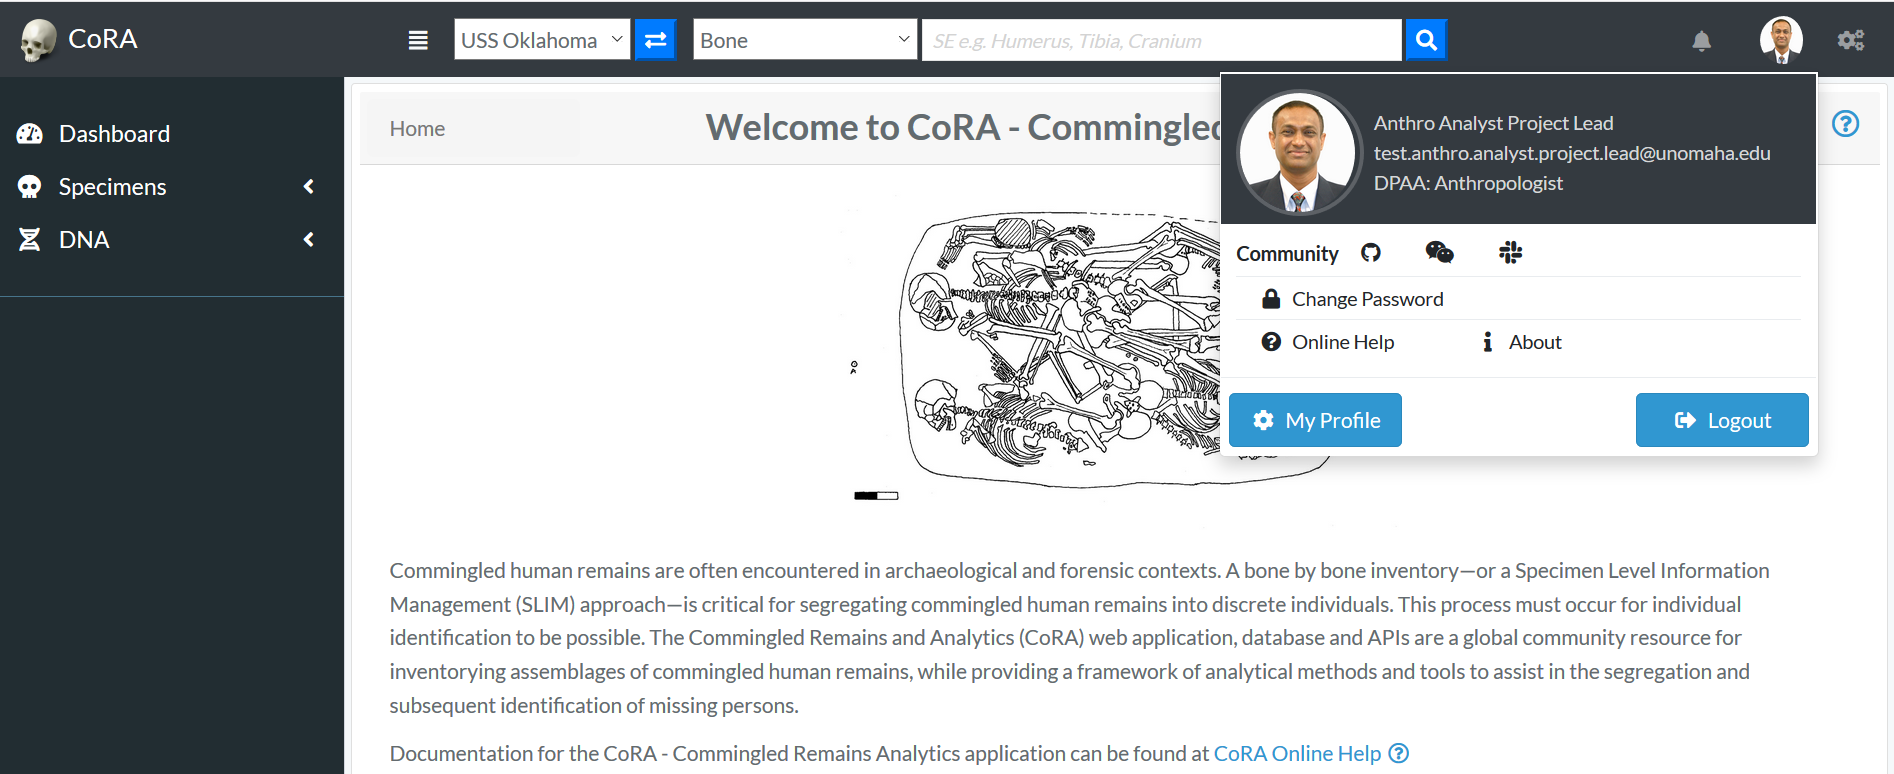
Anthropologist Lead
Anthropologist Lead is one of the Users. Below image shows the screen of Anthropologist Lead. The left side bar includes the various modules of the CoRA web application that the Anthropologist Lead can select. It consists of Dashboard, Specimens and DNA
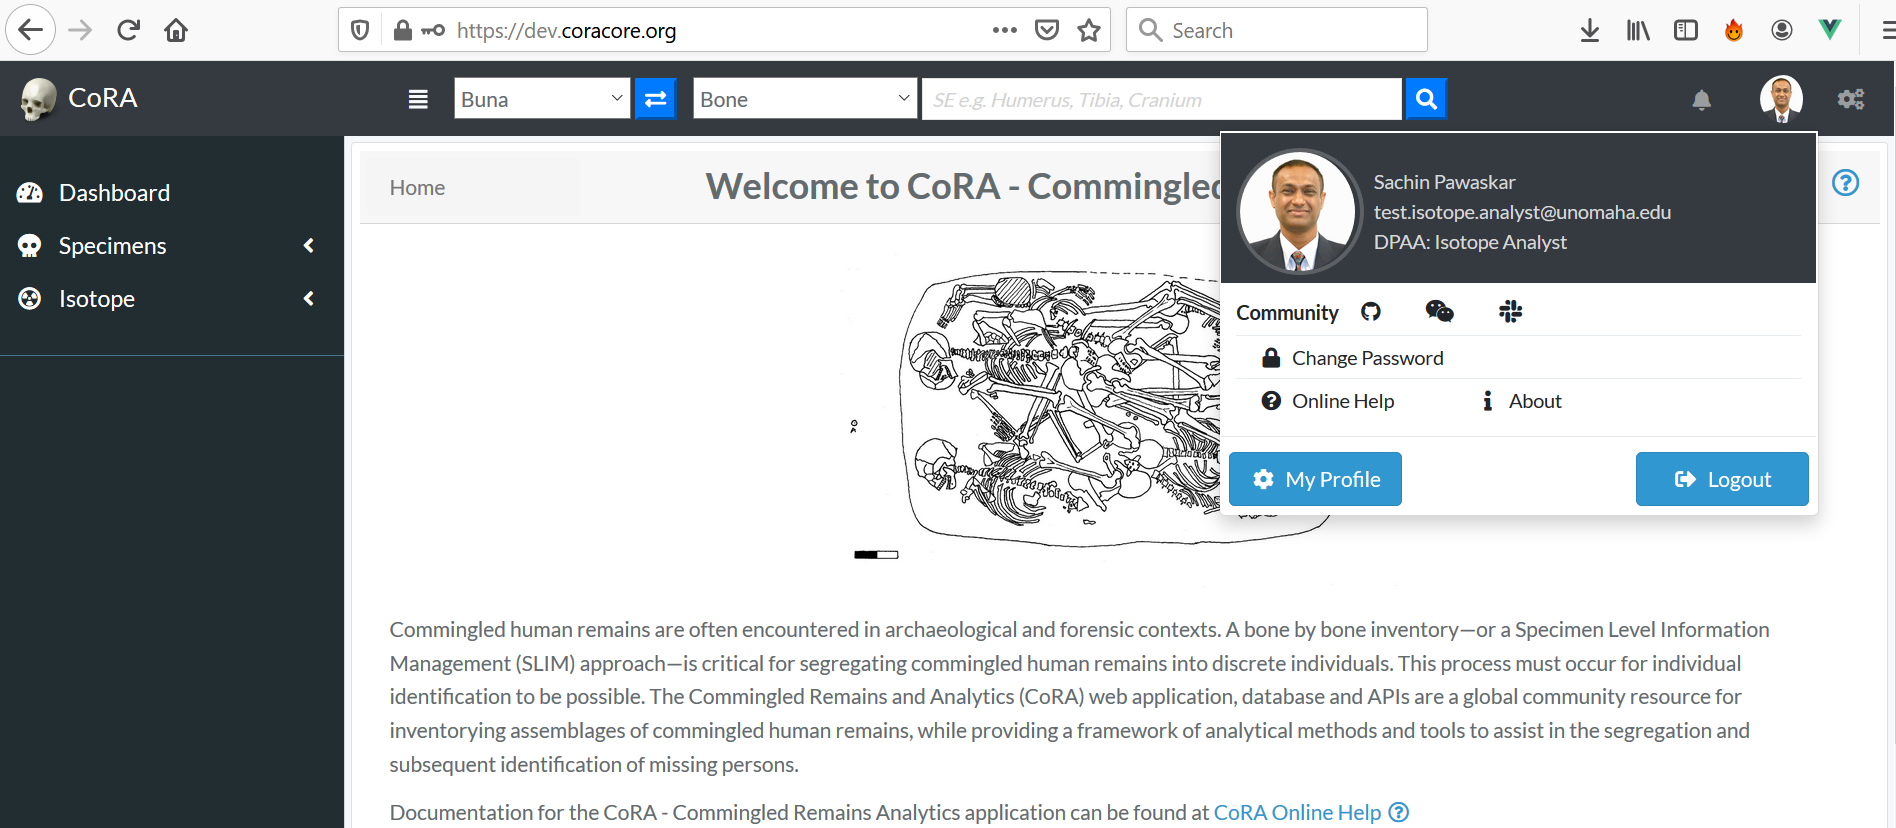
Isotope Analyst
Isotope Analyst is one of the Users. Below image shows the screen of Isotope Analyst. The left side bar includes the various modules of the CoRA web application that the Isotope Analyst can select. It consists of Dashboard, Specimens and Isotope